TTA: Enchanting the Ye Olde Toontowne Interiors

Recently, Corporate Clash released their 1.3 update, which had been in the works for more than two years! This humongous update released tons of new gameplay content and TONS of quality-of-life adjustments to various parts of the game. This is a little backstage story of my adventures fixing up Toontown: Enchanted YOTT Interiors! As a small disclaimer, some images may be slightly outdated.
Ye Olde Toontowne (YOTT) has an interesting and unique theme. The playground is great, but I felt the building interiors weren’t entirely consistent with the rest of the art style. However, It would be a significant toll if we went and remodeled + retextured all three interiors; that would call for modelers and texture artists to do something that would just become a relatively minor QoL update. While we have many talented individuals on the crew, we’re still somewhat limited on time and energy (This is a volunteer project after all…)
Many of the small prop models in the interiors were decent, and the textures were somewhat acceptable– but one of the issues was that there was barely any shading applied to these props. Because Toontown doesn’t rely on a dynamic lighting system or shaders to simulate a lit environment, the rooms looked pretty flat.
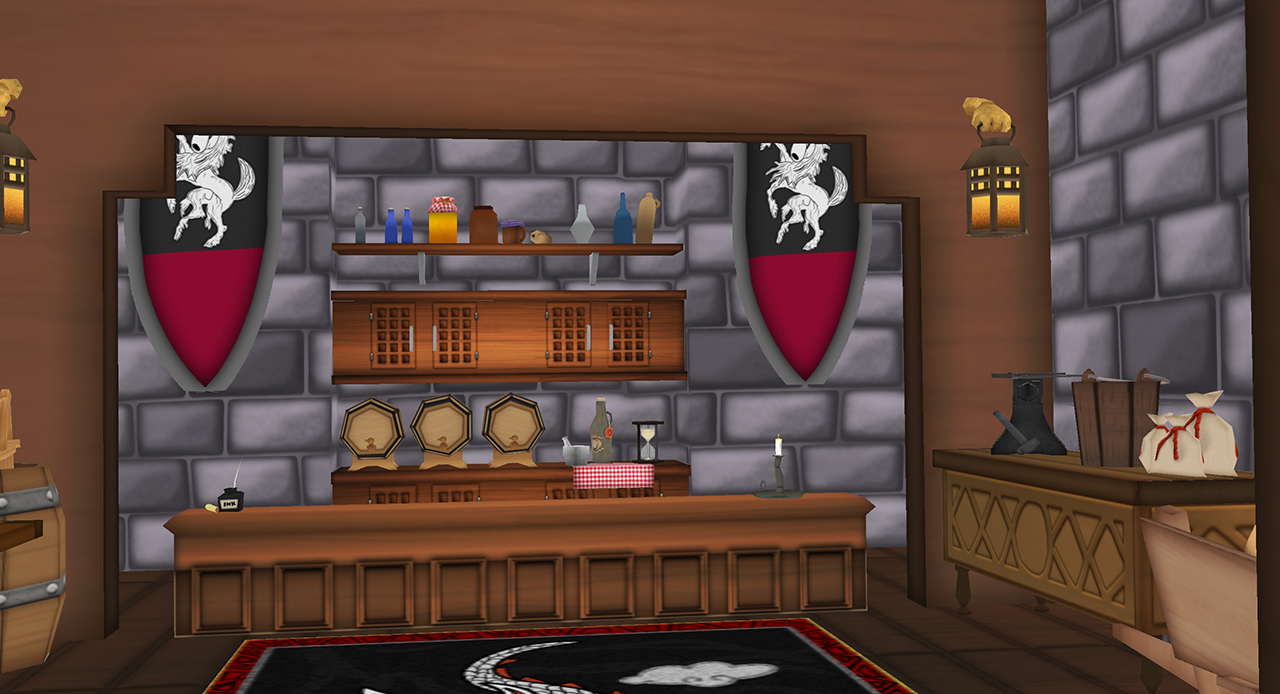
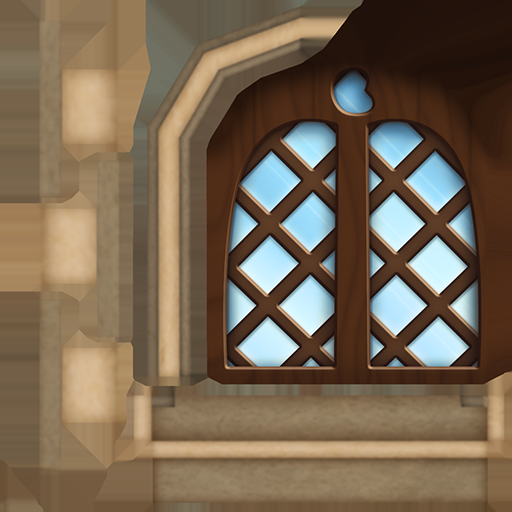
A big problem however came from the lack of technical art - see this interior.
In this blog post, I’ll be going over my entire process of enchanting these three interiors.
Fixing Model Issues
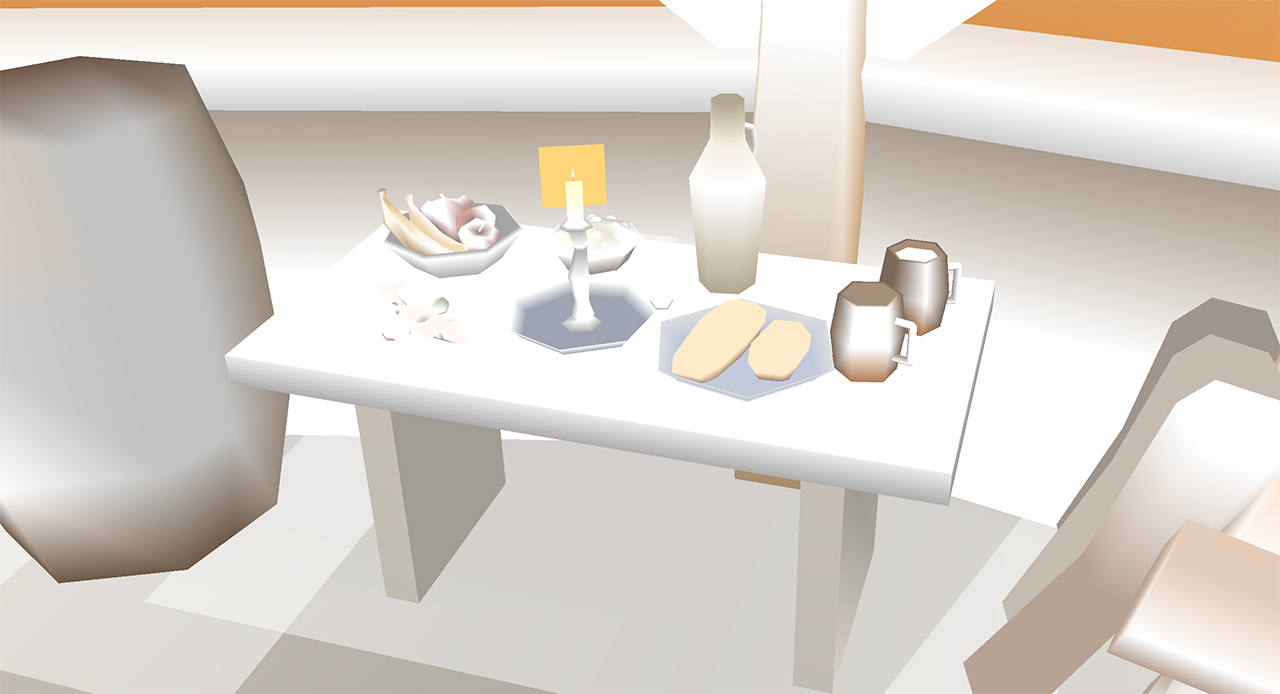
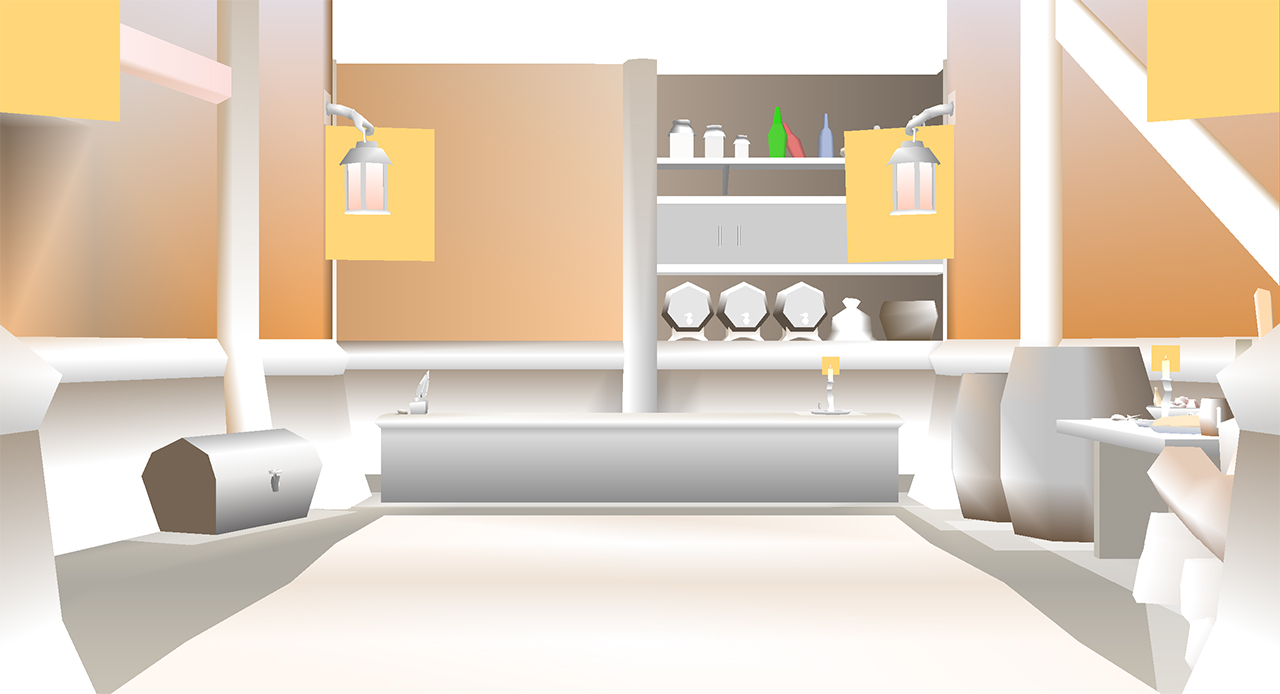
As I previously stated, the interiors here are lacking shading. My approach to this issue was to keep it simple and add coatings of vertex colors. Vertex painting can really help define the environmental setting of areas. One of my favorite references comes from the areas in The Legend of Zelda: Majora’s Mask 3D:
Adjustments
One of my motivations, aside from fixing the bugs, was that I really wanted to make the interiors pop out with the use of artificial lighting.
There was this one Twitter post that Ziggy (Zigguratxnaut) made that demonstrated some minor detail being added to mimic rim lighting. I thought this was really cool and inspirational!


Probably one of my most interesting & experimental changes is the pseudo-glow effect I added on to the lamps. They’re using a simple billboarded plane with a small little glow texture.

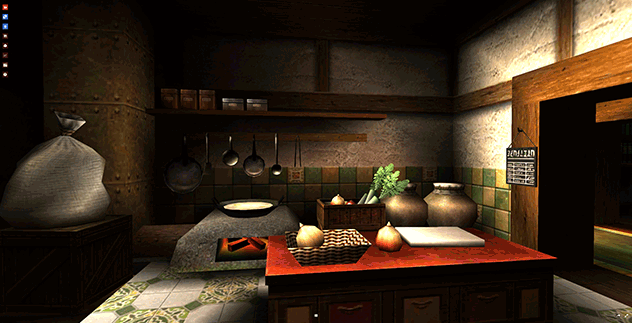
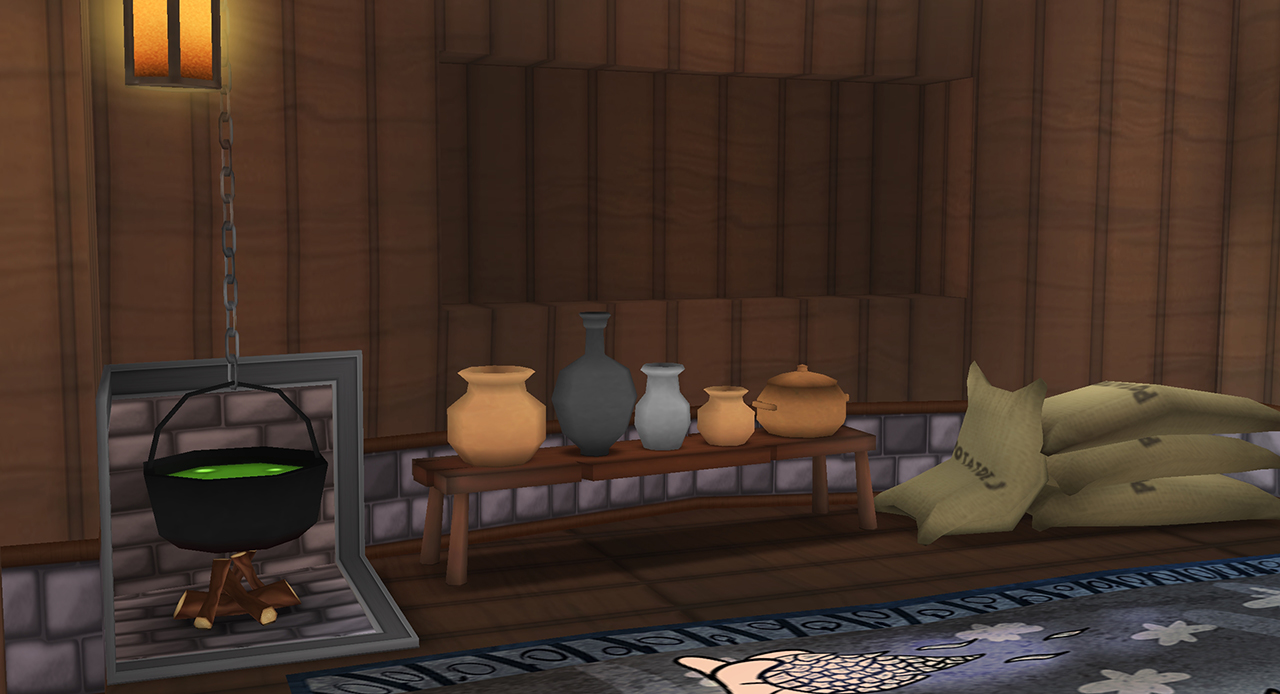
This is a smaller and less noticable detail but I thought it would be cute to have a subtle rising smoke above the pies in the oven. This was achieved using a plane with a UV scroll effect. The red and orange mix of vertex colors help give the furnace an extra amount of heat to sell the effect.
I also went ahead and changed out the fish, hehe
Bugfixing
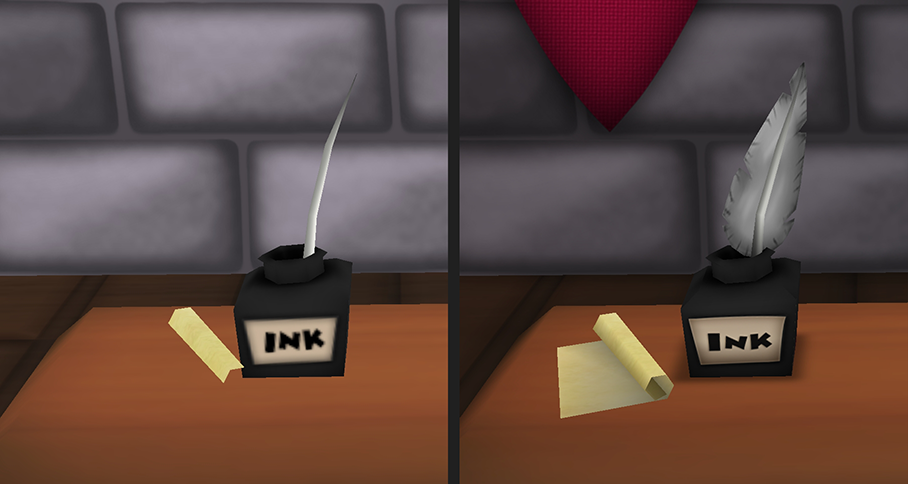
The three interiors had some culling issues with some of their planar props, such as the quill and the little paper notes. I combined all of the geometry with this similar attribute into one and applied the double-sided egg attribute on them to tell Panda to render both sides of their faces.
Lastly, fixing the alpha issue with the pennant flag was pretty simple. The wonky gray borders was caused by an oversight on which alpha blend mode to use. From my experience, switching <Scalar> alpha { blend } to <Scalar> alpha { dual } in egg files fixes a lot of things.
Fixing Texture Issues
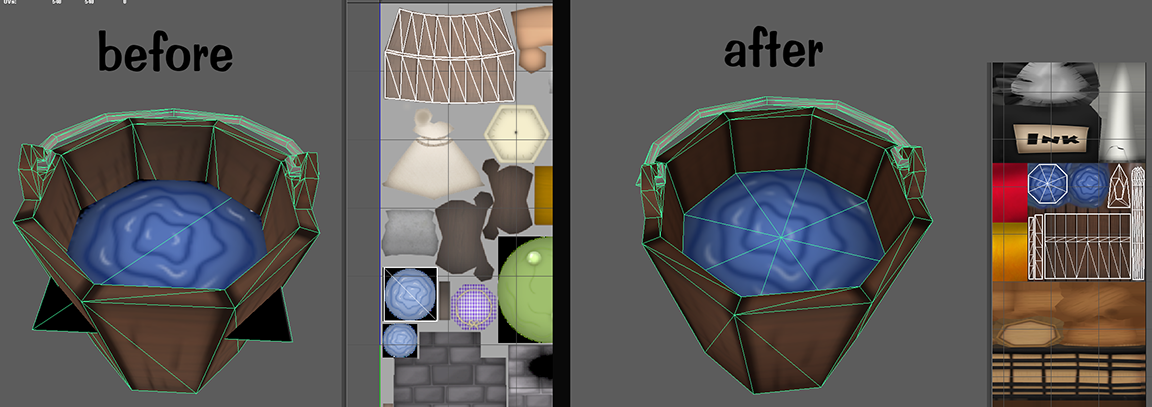
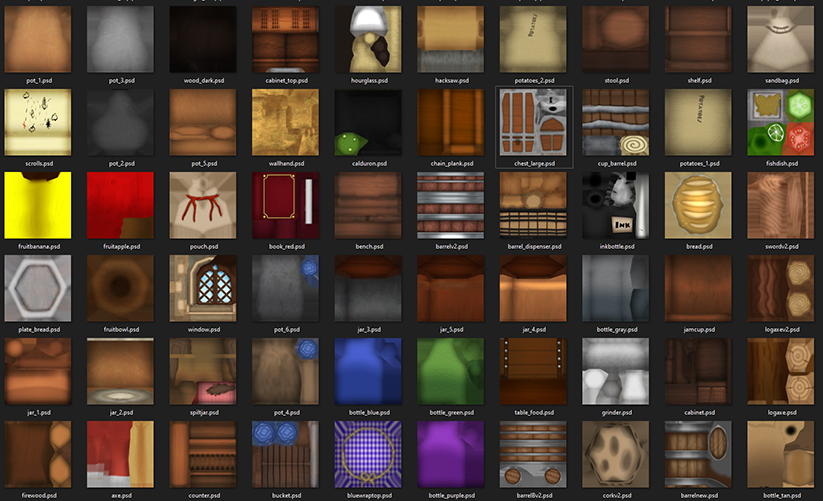
Here’s what some of the old YOTT interior textures looked like:

Here are some issues with these textures:
- Transparent parts are unnecessarily combined with opaque parts (transparent textures consume more texture memory)
- Transparent part of textures should be aggregated into the same texture (palette) map.
- Texture bleeding is nonexistent, contributing to white edges on some textures when viewed from afar.
- A lot of unoccupied (wasted) texture space, including leftover UV wires.
Another major issue is that there are no project files nor individual assets for the pieces on the texture map. This was the best that was available to work with.
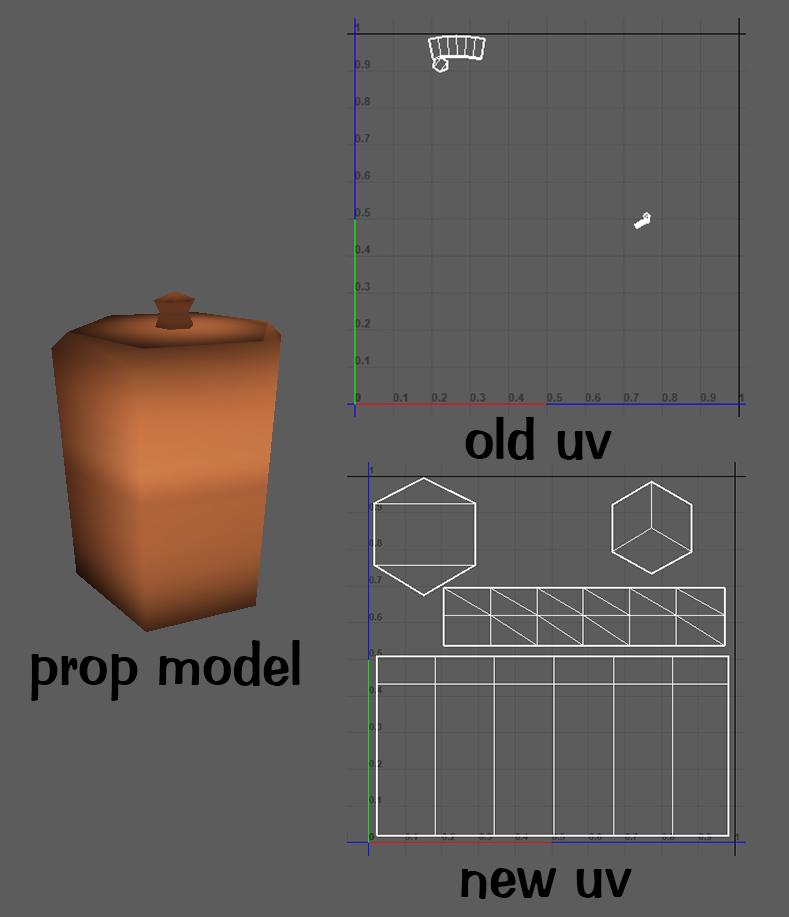
Part 1: Re-UV Mapping
Since there are just so many unique props in these interiors, I wanted to break down each aspect into their own manageable workspace. For each unique pot model, bottle texture, barrel, etc. I duplicated their model and re-did the UV maps to take up the full UV area.
Part 2: Texture Cleanup
This can also fall under addressing model problems, but it primarily impacts textures. I don’t like working with transparent textures when I don’t need to. As stated before, images with transparency (or an alpha component) require much more texture memory than one without. They’re also a bit messy to work with in Photoshop and Maya. I’m not going to go too much into further detail about this, perhaps in another blog post I will. (It’s an interesting topic to go over!)
One caveat with some transparent graphics is when edges become dull–more blurrier or pixel-ier– when downscaled. Usually when choosing a 2D graphic over a 3D prop in a scene, edges should be sharp and crisp. A trade-off can be made between a plane with 2 triangles with the texture’s transparency serving as a mask, or, have a geometric cutout of a shape (increasing tricount) and use a opaque texture instead.
Another issue I addressed was that every circular-shape object, such as the bottom of a bucket or pot, used a plane with a circular texture:
There are some areas where using a plane with a circular graphic can be acceptable, but this isn’t one of them. There’s no reason to use a plane texture here, especially when you’re not working with a shape that needs to have smooth edges.
Part 3: Texture Baking
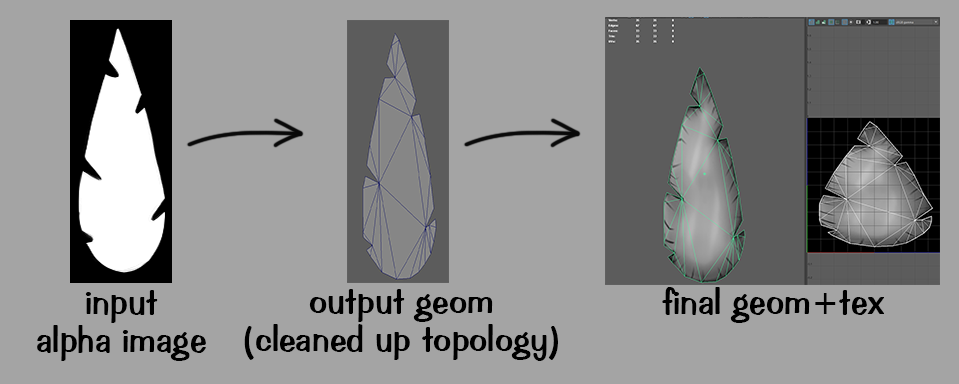
This is one of my favorite parts of the journey! I actually made a blog post prior related to texture baking, which you can check out here.
Since I had duplicated the props I’d been re-uv mapping, I still have the original model with the original uvs in my scene. So, for each prop I re-uv mapped, I used a feature in Maya that essentially transfers the texture data from one UV space to another using supersampling. I put everything on the highest settings to try and preserve as much of the original quality, with the caveat of having the baking process take a couple minutes to complete.

Part 4: Retexturing?
Since texture baking is essentially artificially remapping pixels from an image, some textures will inevitably look relatively lower quality than their original. There’s not much that can be done in this scenario; the desired solution would be to re-texture some of the props that had small texture spaces to begin with. However, there is only so much time that can be dedicated to this mini-project. I decided to repurpose some pre-existing textures and redo only a few from scratch.
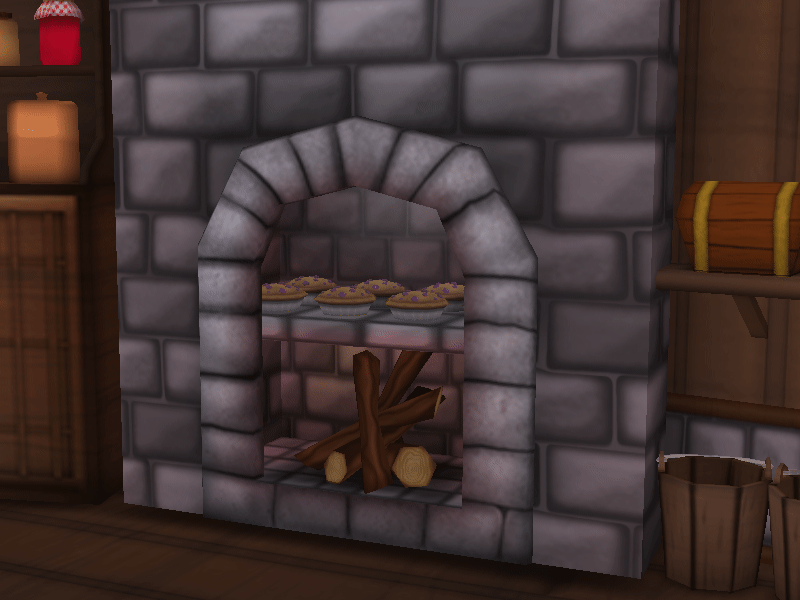
By texture baking other textures used in different locations, I can essentially repurpose them and fit them into the scene. For example, the pies in the wheelbarrow were retextured(remapped) to the pie as seen in the Toonseltown bakery shop.
![]()
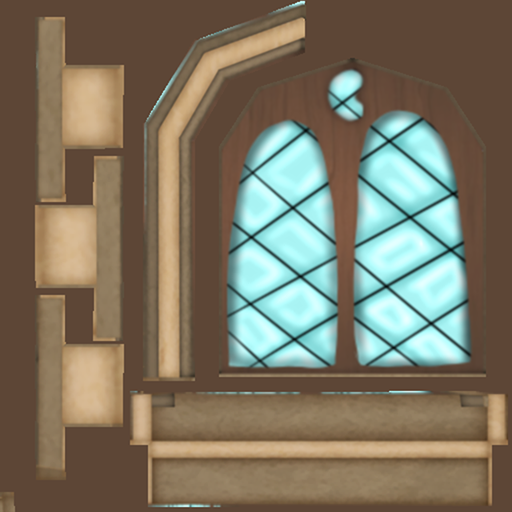
I did make some texture adjustments from scratch with the book props, part of the pen and ink set, and part of the window in the third interior. If I have some extra time someday, I’d like to go in and redo some more textures.
Part 5: Texture Bleed/Margining
This process really acts more like repetitive chore work, but it’s still a very important process. I exported each prop into individual .obj files, then imported them into 3D-Coat, where i’d export their textures through the program. The software automatically generates PSD files with texture bleeding applied, so that’s nice.

Sometime in the future I want to talk more about the importance of texture bleeding, but for now, you can just check out this article.
Part 6: Palettizing
This is the final and most important step. It wouldn’t be optimal to keep the current texture loadout and have each individual prop load in a new texture file in memory. The goal here is to condense all of these props into the fewest amount of texture files as possible while retaining significant detail. The maximum resolution I go for these particular palettes is 1024x1024, so I had to plan out the most optimal way of placing down associated textures.
I didn’t really want to use a completely automated palettization process here, since I wanted to have as much autonomy over the interiors. This consequently means that it’d take considerably more manual work if I wanted to modify the structure of any of the texture palettes.
For laying out the textures, I used this nifty Maya/Photoshop plugin called Easy Atlas (Thanks RogerDog!), which automatically transformed UVs and generated a PSD of the new texture palette. Since I already had every individual part with their own project file, I relinked each layer to its corresponding PSD equivalent to keep things consistent and somewhat automatic. Essentially, the palette file will auto update if I edited the project file of one of the prop textures.
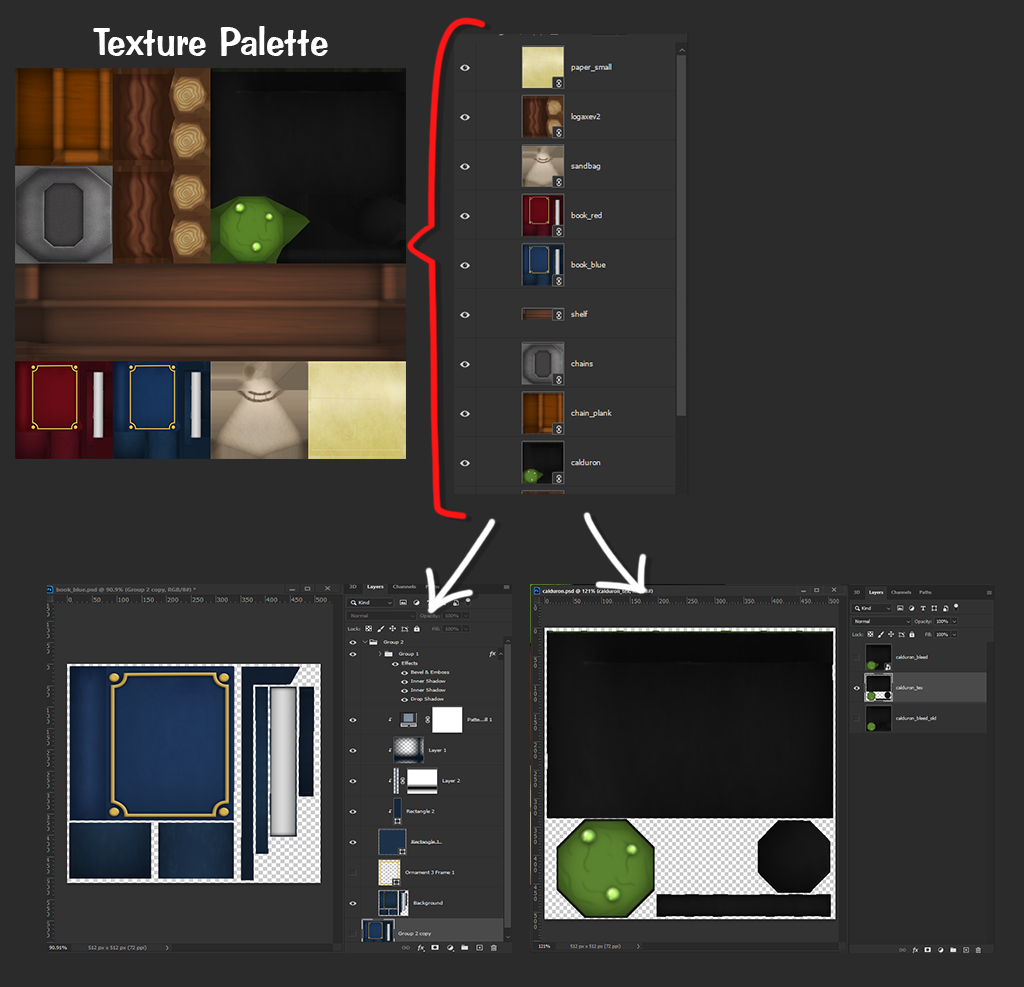
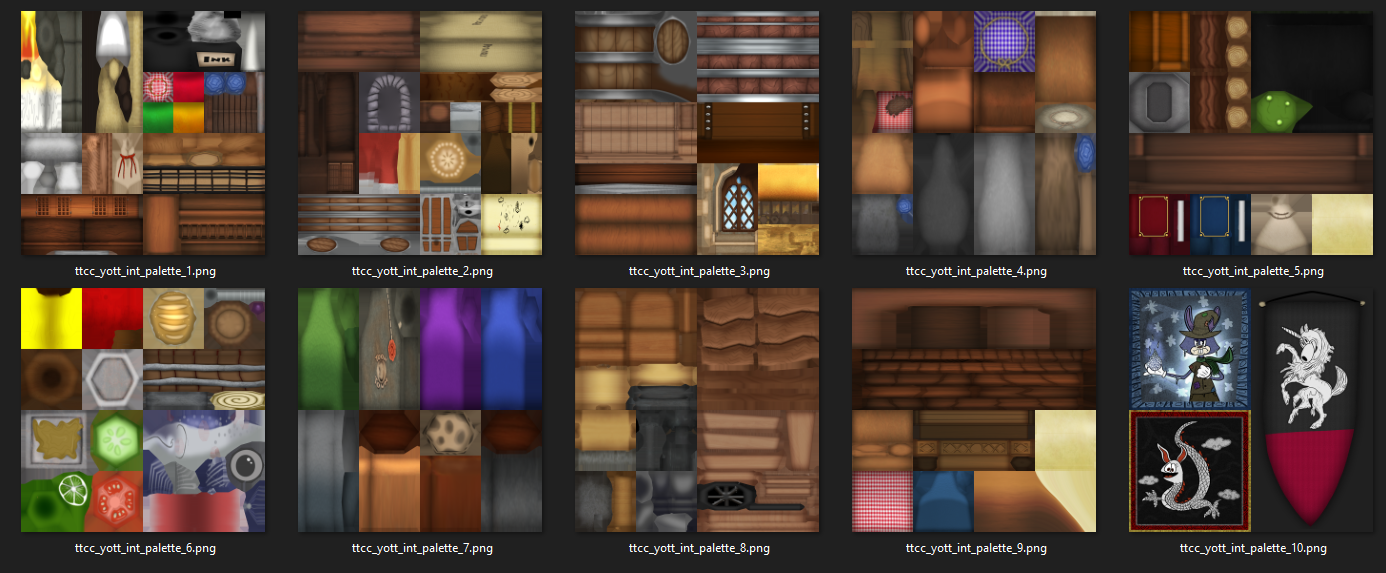
I ended up making a total of ten different texture palettes, which isn’t too bad, considering these are areas separated from other textures of the game.
Conclusion
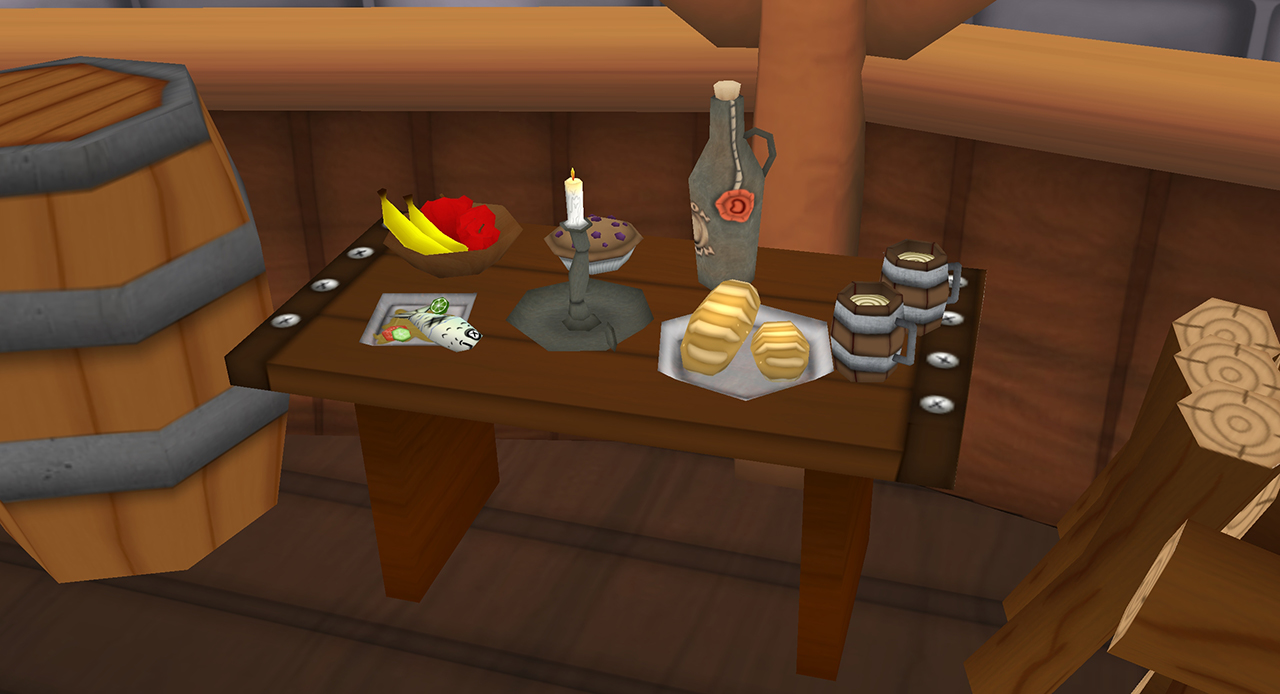
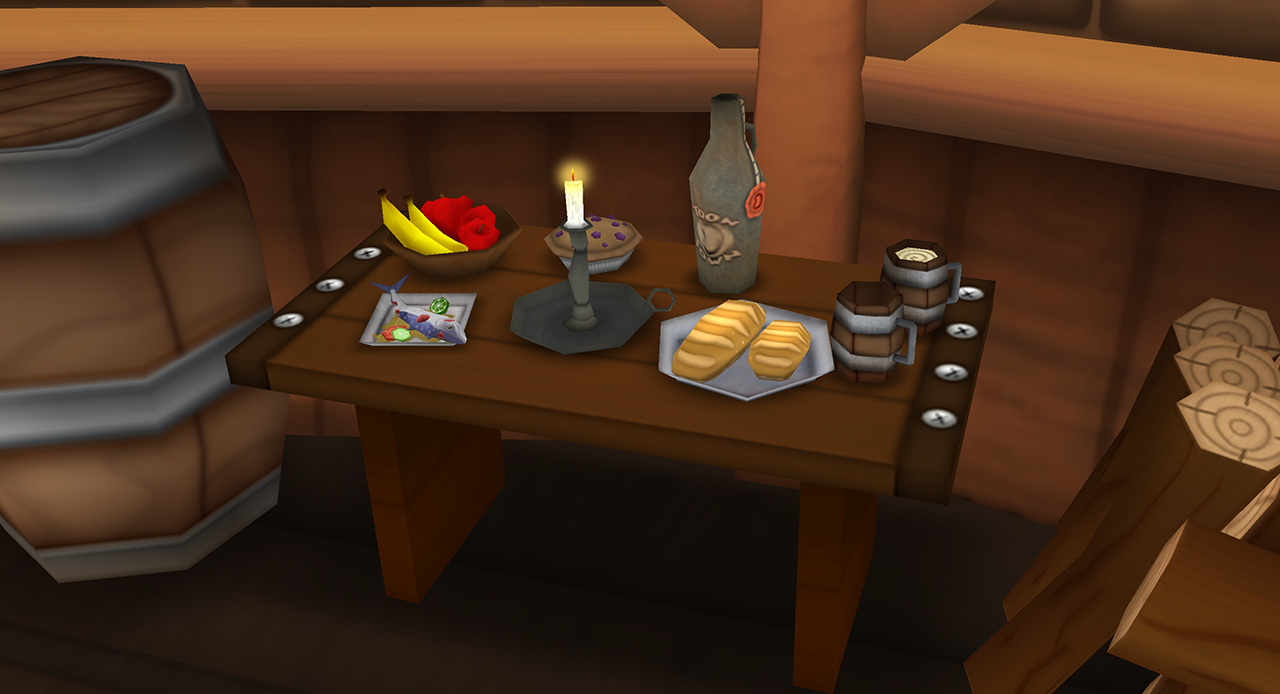
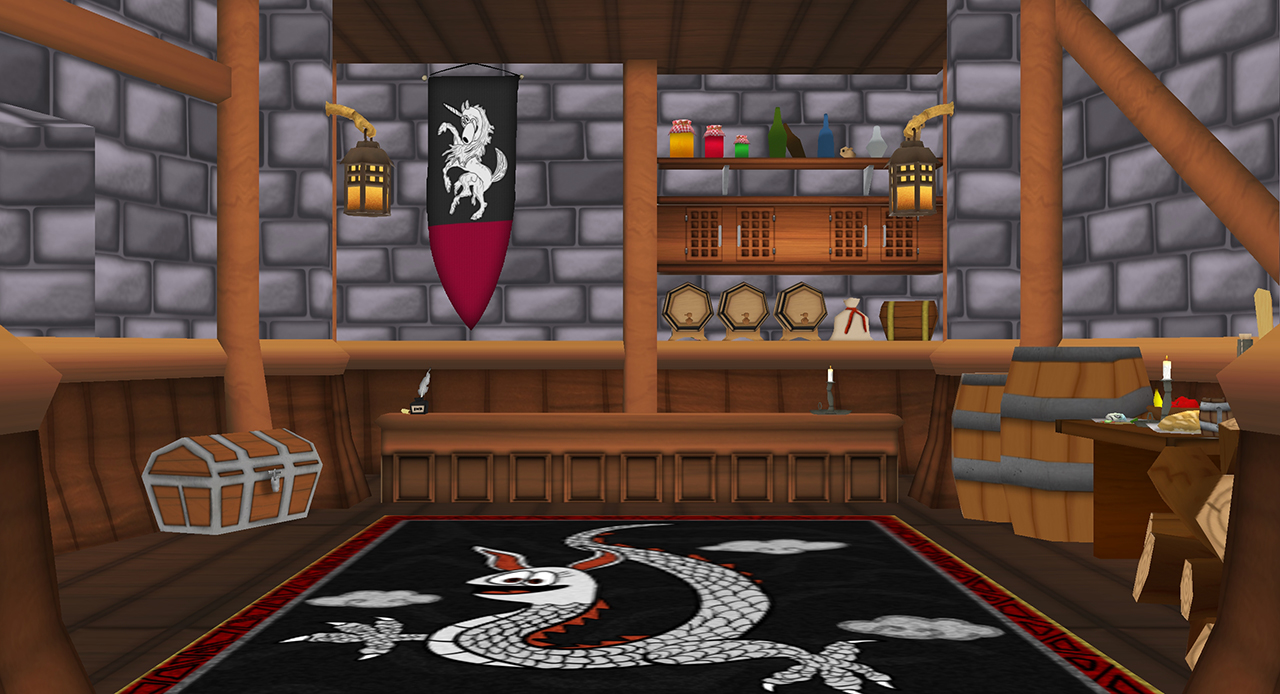
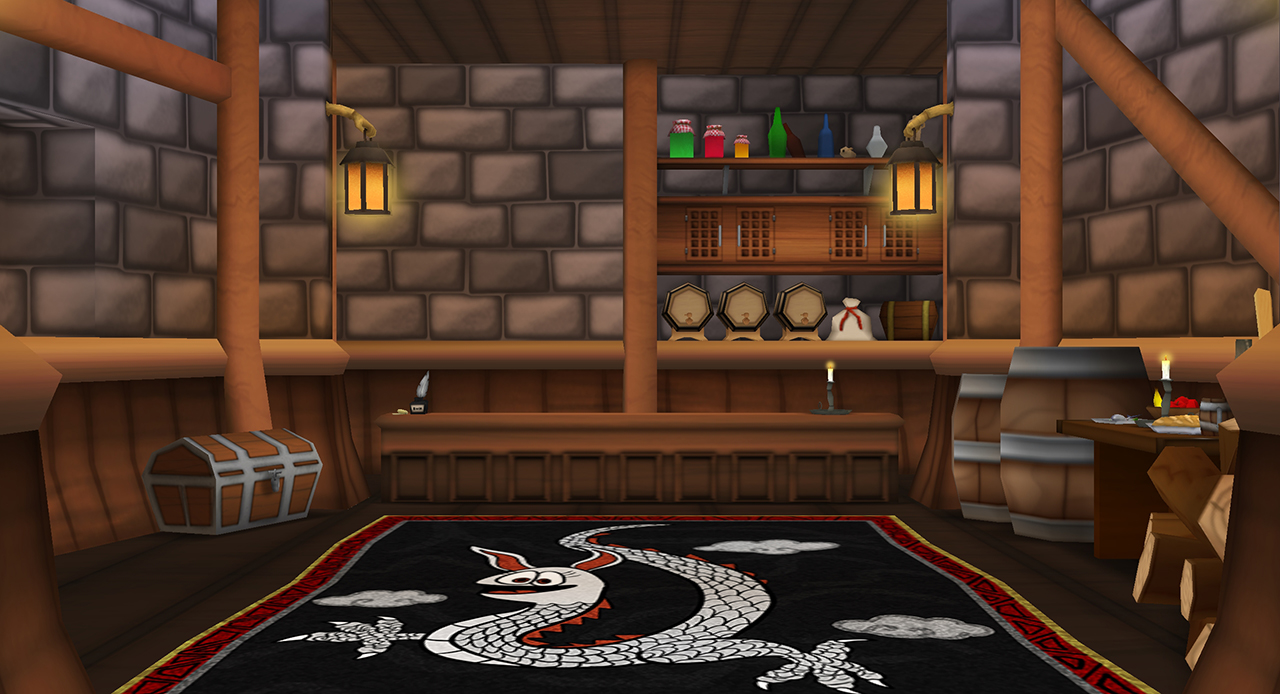
Here’s a before and after comparison with the adjustments I made to the interiors, along with what the vertex colors look like:
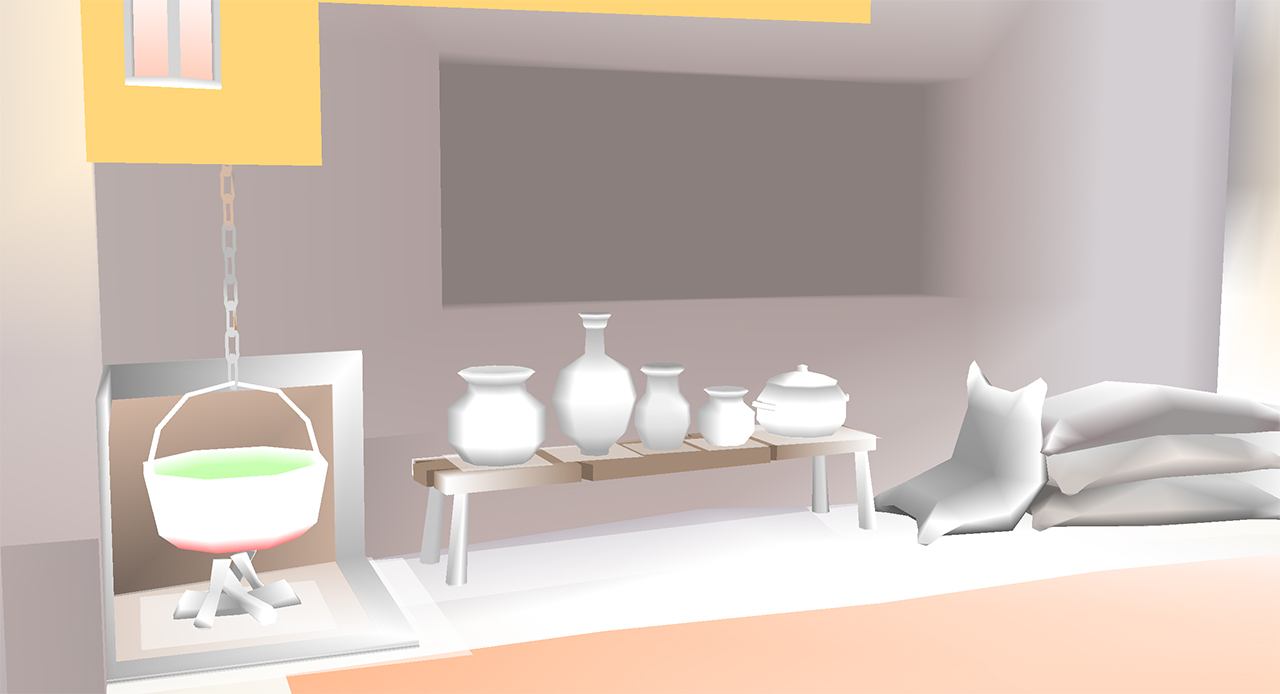
Interior #1
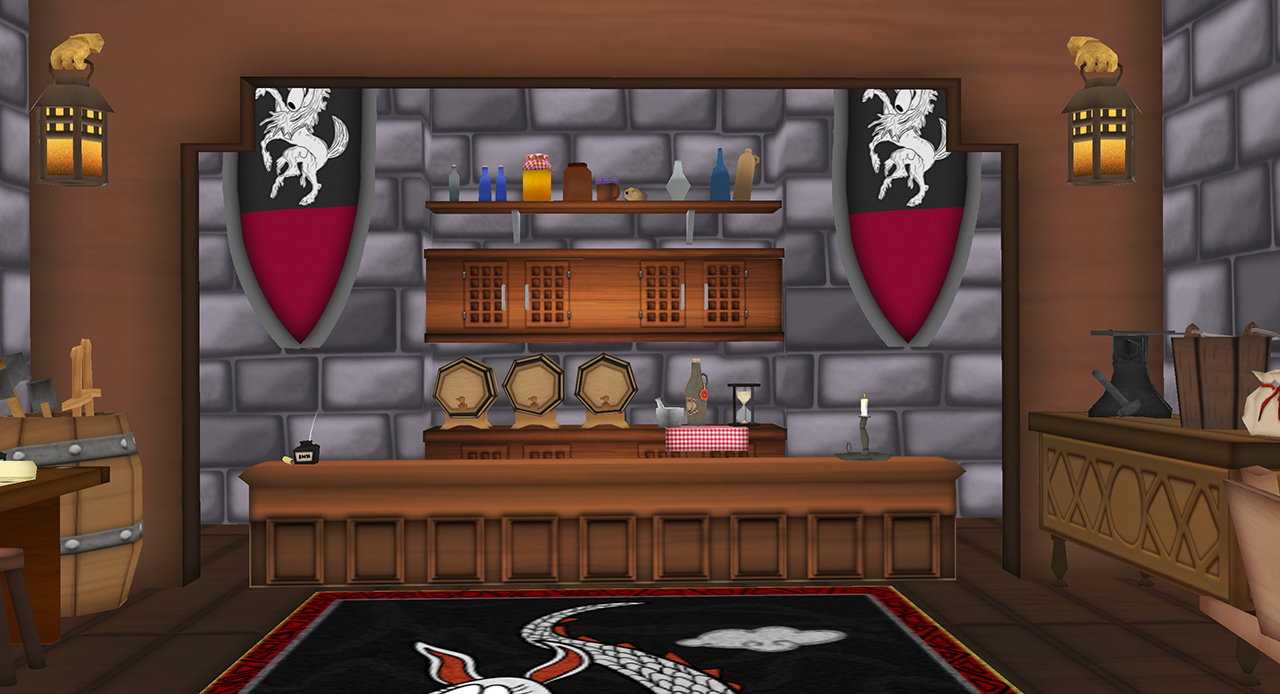
Interior #2

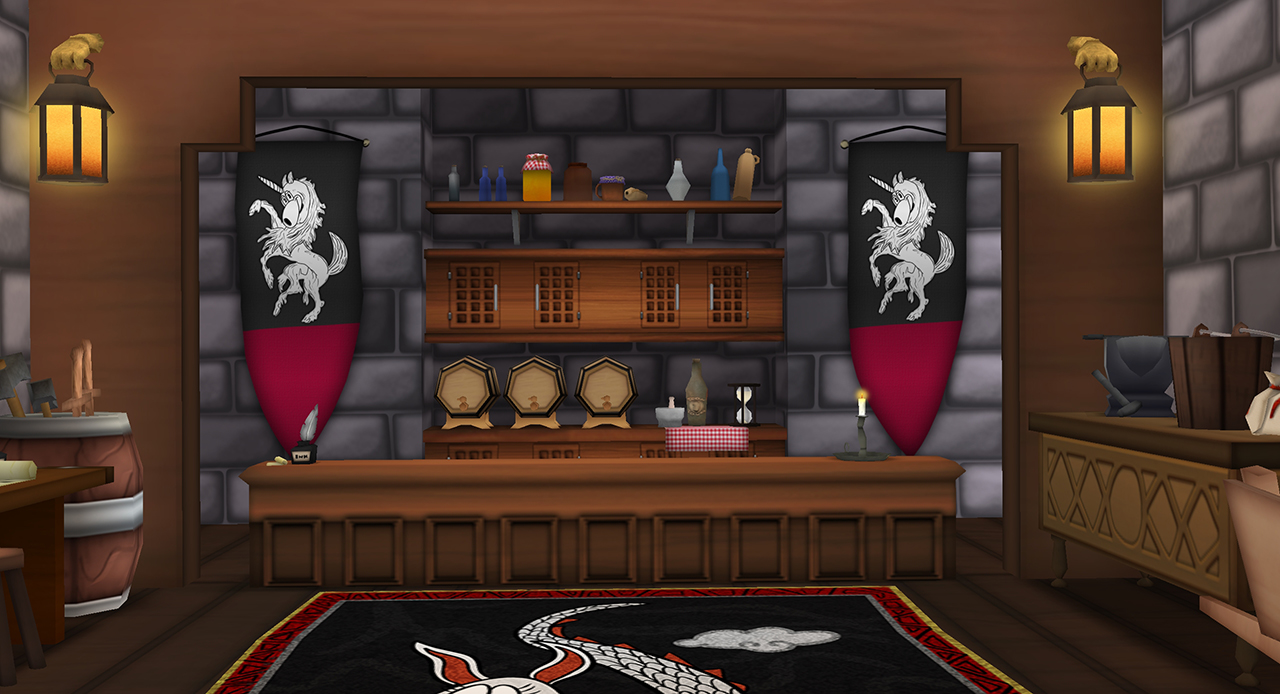
Interior #3

Ye Olde Toontowne was made years before I joined the crew. Unfortunately, it was also made during a rush in an era where polishing wasn’t really a thing. Certain tricks and optimizations used today weren’t known about back then!
My journey with enchanting these interiors actually started a couple years back in mid-2020, though the project overwhelmed me for a while with how much focus I wanted to put into the detail with these three areas, along with staying consistent throughout the process. The end result of these interiors ultimately increased the tricount and texture count but significantly reduced the amount of nodes (draw calls). Honestly, I’m not 100% satisfied with how the interior adjustments came out. I feel like they’re something that I would like to address and tweak further sometime in the future (among many other assets in the game…) But for now, I think they suffice.
Resources Used
- 3D-Coat - Used to add texture bleeding
- Autodesk Maya - Primary 3D modeling software, used for vertex painting, texture baking, and model cleanup
- Easy Atlas - Maya plugin to create texture palettes
- GT Tools - Very useful collection of Maya scripts to automate certain processes
- Adobe Photoshop - Primary texture editing software
- Flaming Pear - Photoshop plugin to add some texture bleeding
Blog Post
noclip.website - Legend of Zelda: Majora’s Mask 3D Stock Pot Inn model