It’s been quite a bit since I’ve last written on my blog! I genuinely have a lot of things I’d like to write down here; I’ve just been juggling a hundred different things at once while trying to ensure I can make it through each day.
This is little dev story I encountered from a few months ago. What seemed to be a straightforward task to do had ended up snowballing into a series of more frustrating issues. I actually might end up making my repalettizing stories a series since there’s been many weird quirks I’ve had to deal with.
In my long term conquest in repalettizing the entireity of Toontown, one of the higher-priority textures I desire to address are the ones where only a very small portion of the file is being used somewhere.
This is the palette that contains the Flunky’s glasses along with the “stun” visual effect pieces.

Only 57.81% of this entire file was effectively used. Not too bad, but can do better. To repalettize these assets, I usually grab their source file from the Spotify repository that contains majority of Toontown Online’s original textures.
In Corporate Clash, an additional derivative of this texture is used when a Cog is sued. Here’s the texture for that:
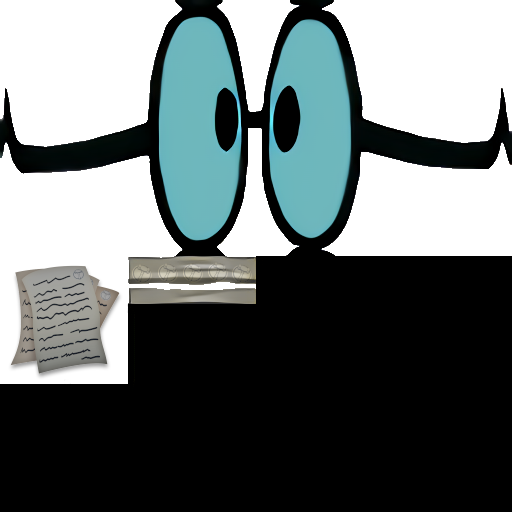 This texture irked me - the Flunky glasses were just a leftover copy+paste, and only 7.81% of this entire texture was being used. 92% of that entire texture was wasted texture memory space.
So, my goal was to put the two stun (& sue) graphic components on their own, smaller texture palettes. To ensure I don’t get too carried off, I’ll worry about the Flunky glasses another time.
Getting Isolated Textures
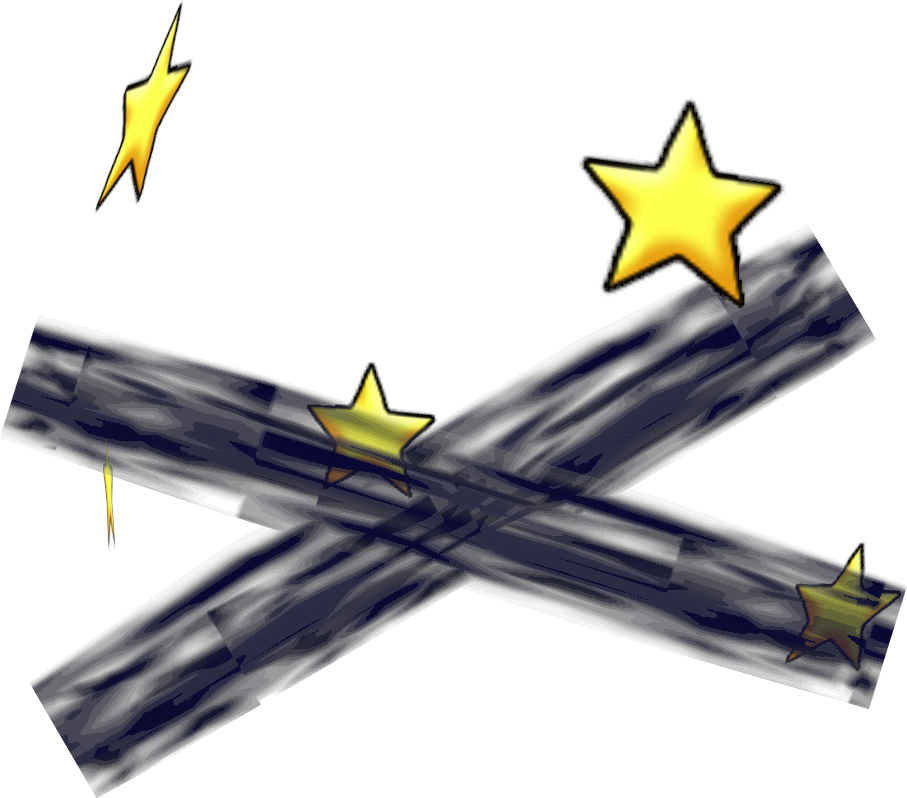 It was a bit of a challenge however to get the isolated version of the star and the blur graphic. First of all, I couldn’t find these textures. XnViewMP, which normally has support for previewing and converting
 .pic files, just couldn’t do either for these. Though it’s not like the textures were corrupted; I could open up the associated model file and Panda would be able to read the textures fine and dandy! So, how the heck can I actually view these source textures?
Panda’s egg-trans tool, which usally works fine with converting texture formats, couldn’t help me:

See, the .pic file extension is great because, not only is it a highly outdated and rarely-used extension nowadays, but it’s a Softimage proprietary format! Meaning, there’s gonna be fewer programs that could support parts of the format.
Well… I wasn’t wrong about this. Something about this layout raised uncertainty if it was gonna work or not.

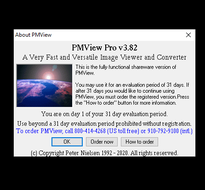
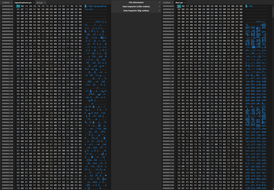
I did try out PMView, though it still wasn’t able to open up those pic files. It would suggest to me that they were corrupted. But I mentioned previously that it’s not like these textures are corrupted… Doing a bit of file analysis and comparing the Blur pic file with a different pic file that I was able to convert, there’s definitely a bit of a difference here:
Arrrgh… I might as well consider these files to be using a completely different extension considering how different they were. I concluded that the.pic files for the star and the blur were made pretty early in Toontown’s development and thus used some earlier version of the .pic image format.
Fortunately, I was able to export my textures into PNG by opening the source model in Autodesk Maya 2016 and manually exporting the textures from there. Yay!~
As for the Clash sue palette, I actually made that docket graphic and thus has the high quality source project file of it. Since the “blur” graphic used was pretty obscure and low quality, I don’t think we had a source file for it. I just extracted it off the palette.
It wasn’t too difficult to rebuild the stun graphic. I decided to derive off the Spotify model and make a manual build script to ensure the model (and it’s animation) would behave normally. While testing out my changes, at first, everything seemed to be working as intended! Except for an edge case: Virtual Skelecogs.
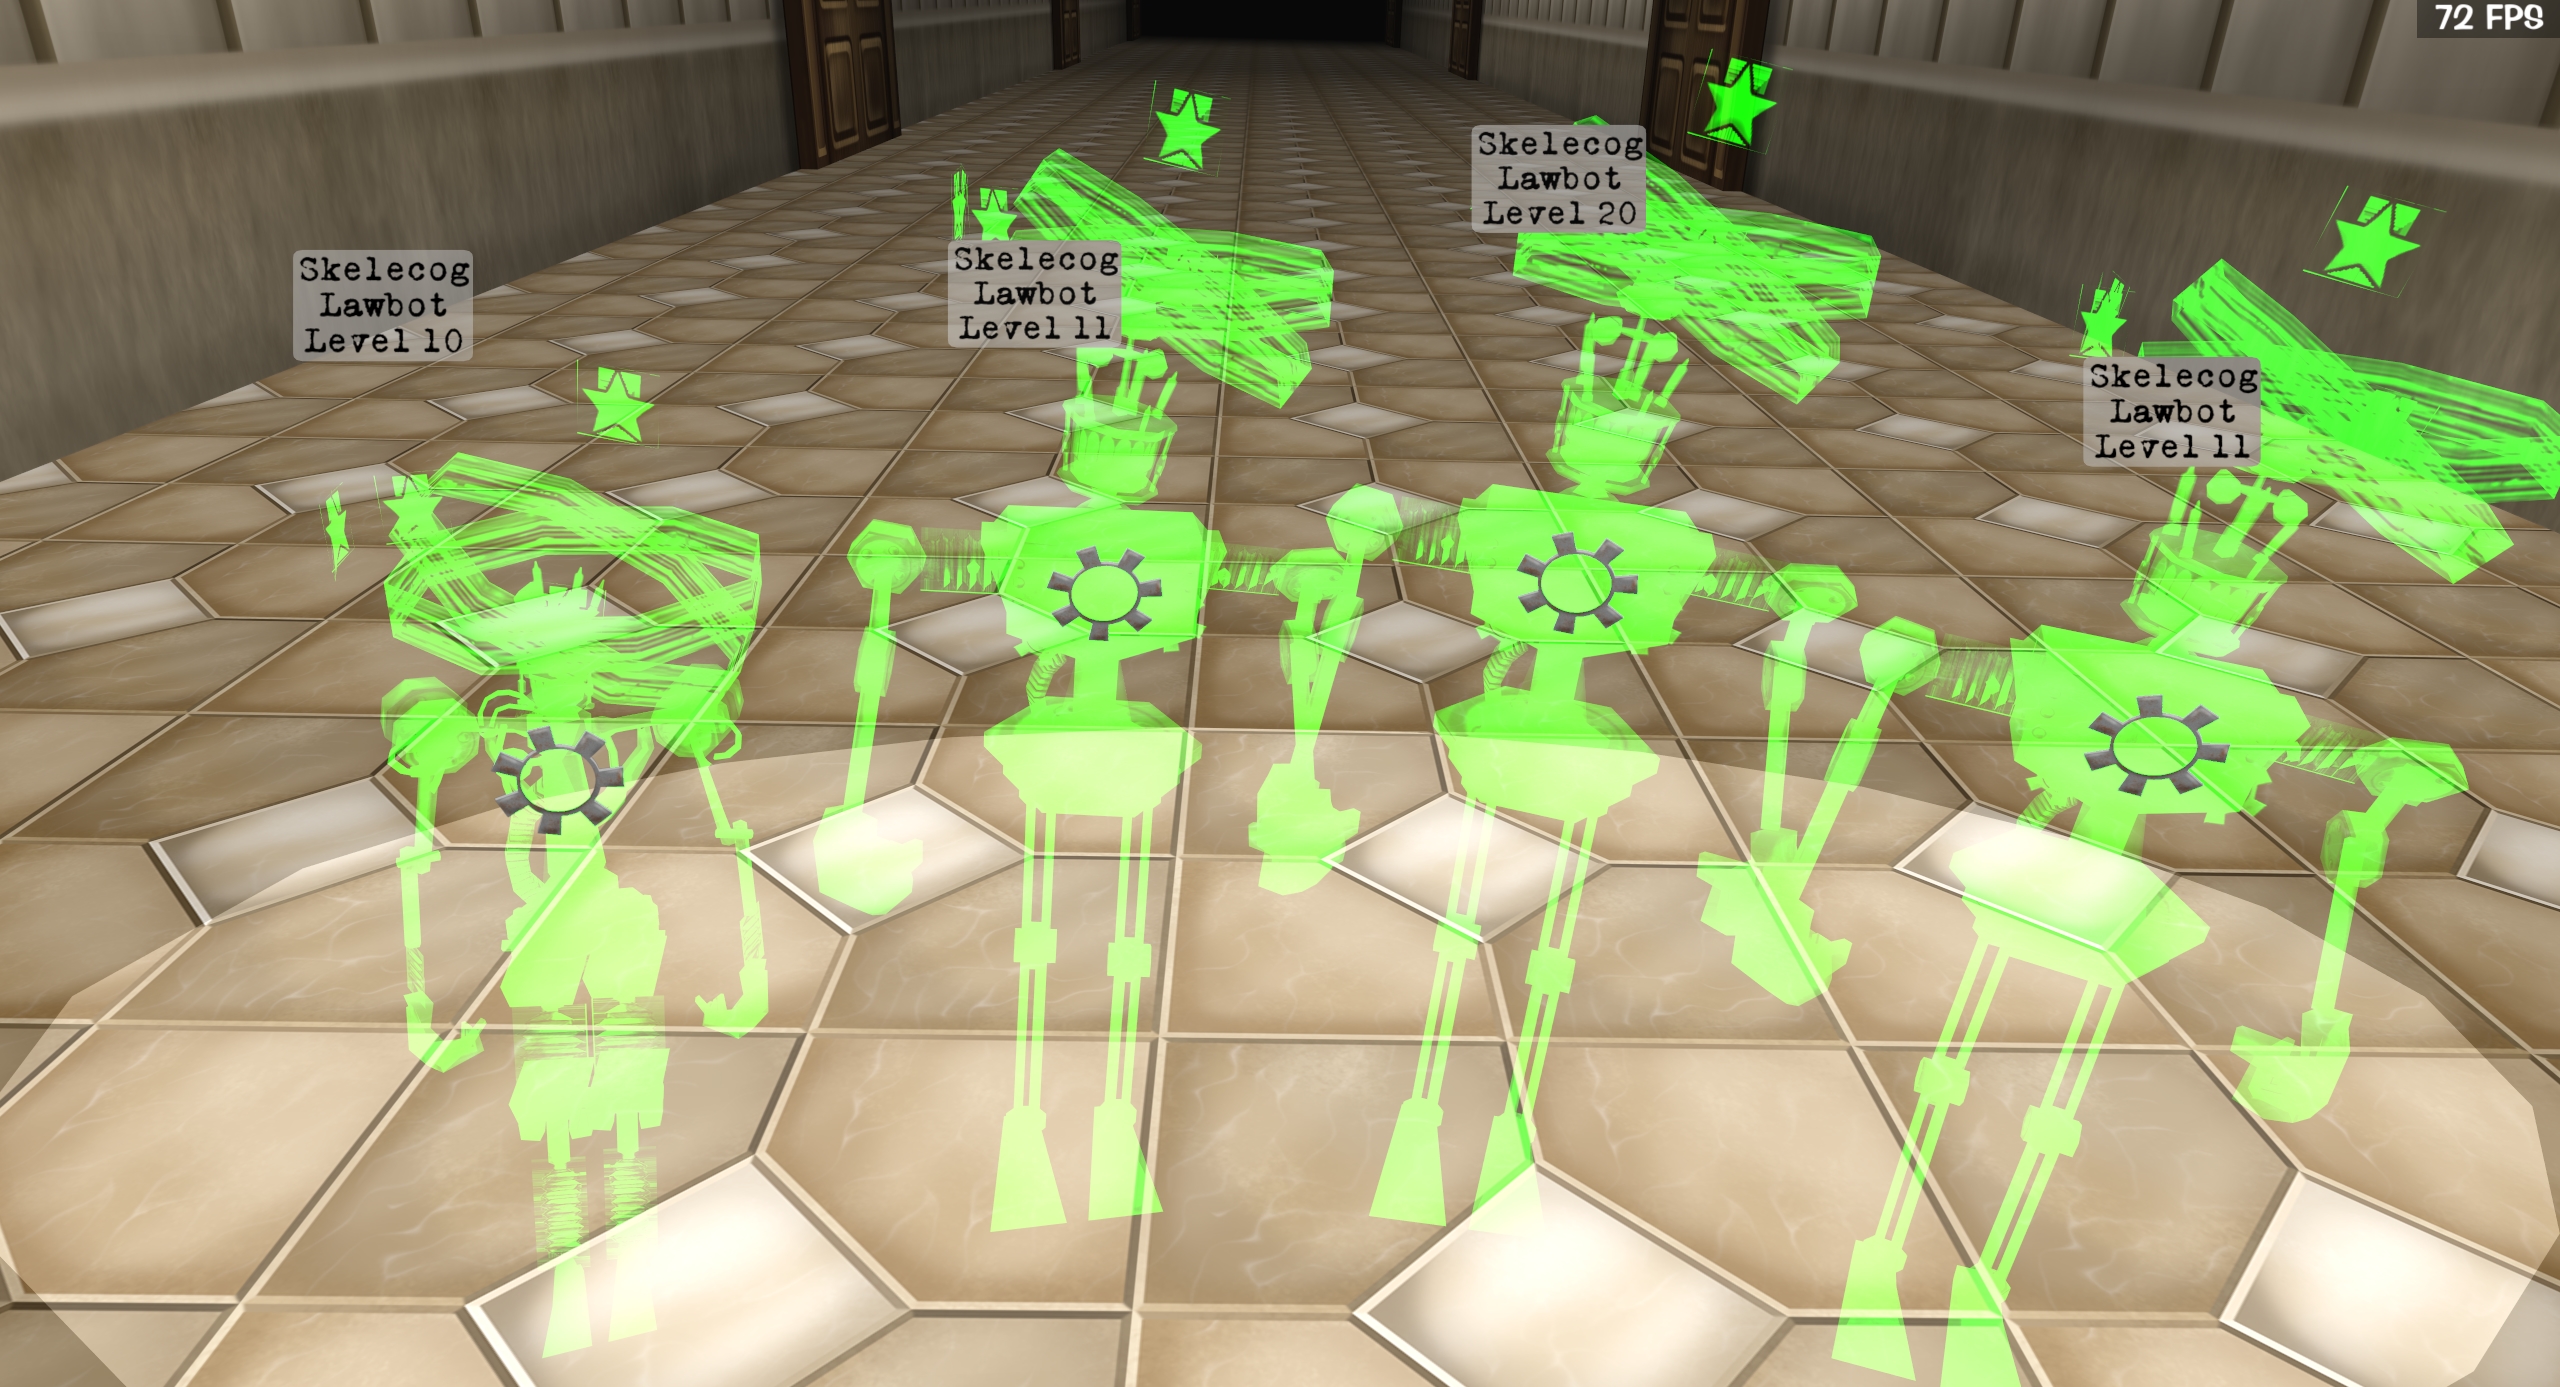 Do you notice the issue? Check those star graphics out. They don’t really look like the stars I was going for.
Analyzing The Problem
There’s some suspicious activity going on. The stun texture in my File Explorer preview would appear to have some weird artifacting colors around the star’s borders…
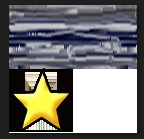
I tried opening up and exporting that same graphic in multiple different programs: I uploaded it to (and redownloaded from) Imgur, texture looked fine but same issue. There was no indication that the area bordering the star was opaque. Here’s a comparison on how it looks in Photoshop (with a gray background) versus using a Steganography tool:
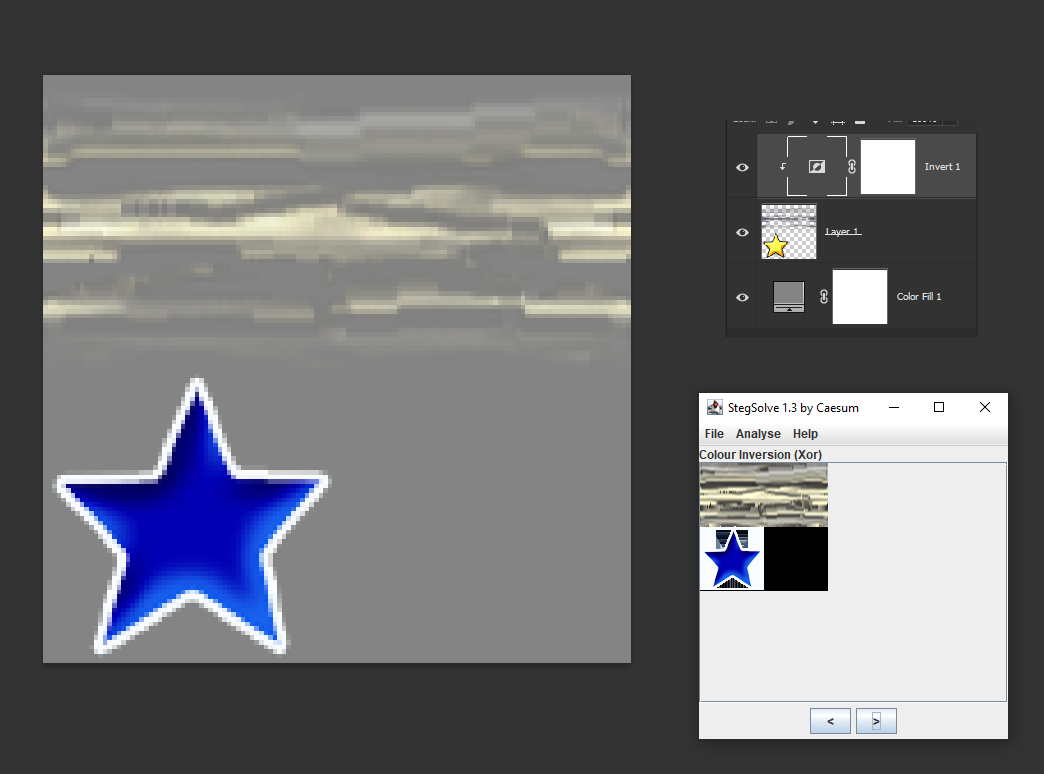
Now, Virtual Skelecogs do have a few unique render effects that end up affecting the stun graphic.
Analyzing Toontown Online code, you can find this function in DistributedFactorySuit (For whatever reason they decided not to have it embedded as part of SuitBase)
    def setVirtual(self, isVirtual = 1):
        self.virtual = isVirtual
        if self.virtual:
            actorNode = self.find("**/__Actor_modelRoot")
            actorCollection = actorNode.findAllMatches("*")
            parts = ()
            for thingIndex in range(0,actorCollection.getNumPaths()):
                thing = actorCollection[thingIndex]
                if thing.getName() not in ('joint_attachMeter', 'joint_nameTag'):
                    thing.setColorScale(1.0,0.0,0.0,1.0)
                    thing.setAttrib(ColorBlendAttrib.make(ColorBlendAttrib.MAdd))
                    thing.setDepthWrite(False)
                    thing.setBin('fixed', 1)
This code tells us to apply a red color scale on our Skelecog and set an MAdd ColorBlend attribute to it. This essentially creates the “holographic” looking effect that Virtual Skelecogs have! (Small note: The only difference I’m working with here is that the color is green rather than red.)
I do remember that I spent a bit of time playing around with different color blending attributes to see if I could potentially mitigate the issue. I wanted to see if I can fix my issue without having to change the code, especially if it worked before!
I also recall getting pretty frustrated and pointing the problem to be related to the fact that the texture wants to base its alpha channel off that file.. which is causing our problem.
The problem here is that we’re seemingly working with removing invisible colors. A quick suggestion would just be to use the eraser/cut tool around that area, but it’s not like these pixels are 1% opaque.
 I struggled trying to Google around information about this. It was hard for me to find the best words to describe what was going on without getting the “more common” unrelated results. Initially, I couldn’t find anything helpful that could help explain what was going on in my situation. I reached out to some of my other friends to see if they have any idea of what’s going on, no dice.
My Applied Solution + Retrospect
As I couldn’t force the texture to use the repal PNG file for only RGB and an auxillary black and white file for defining the alpha channel, I really only had one option left: Fallbacking a JPG+RGB solution. For a quick history: a few years ago for Clash’s 1.1 update, I refactored almost every single texture in the game away from JPG+RGB and on to PNG files. JPG+RGB are a thing of the past for Clash… with this new exception for these textures…

I applied this solution back in April-May 2022, and I’m writing about it five months after. Over time, there’s been a few other ideas on how to re-approach the problem without using the obscure JPG+RGB combo have come into mind, however, I reallyyy don’t want to prioritize those graphics right now. If it works, it works. However, I’m actually writing a follow-up blog post surrounding this weird phenomena and my journey in discovering why it happens.
